Artificial turf is becoming an increasingly popular option for homeowners and businesses looking to achieve a green lawn without the maintenance and water requirements of natural grass. Whether you’re looking to enhance your garden, patio, or backyard, learning how to install artificial turf can help you create a beautiful, low-maintenance outdoor space. In this blog post, we’ll explore the installation process, common problems that users face, and how to solve them.
Table of Contents
Benefits of Artificial Turf

Before diving into the installation process, let’s take a look at the key benefits of installing artificial turf:
- Low Maintenance: Artificial turf doesn’t require mowing, watering, or fertilizing, saving you time and money.
- Durability: It stands up to heavy foot traffic, pets, and weather conditions, making it perfect for active households.
- Water Conservation: No need for watering, making it an eco-friendly choice in areas with water restrictions.
- Aesthetics: Artificial turf remains green year-round, ensuring your outdoor space always looks pristine.
Tools and Materials You’ll Need For Artificial Turf

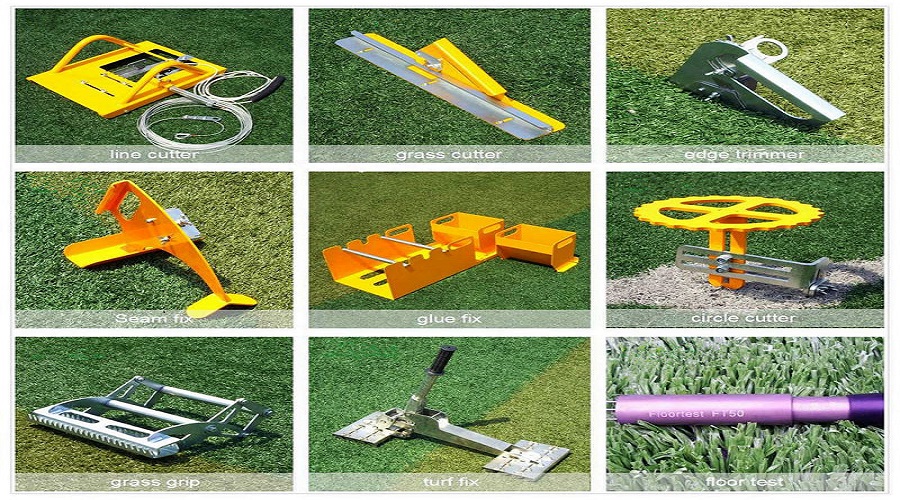
To successfully install artificial turf, you’ll need the following tools and materials:
- Artificial turf rolls (measured to fit your area)
- Weed barrier fabric
- Crushed rock (for base layer)
- Turf adhesive or nails (depending on installation type)
- Turf cutter or utility knife
- Rake
- Shovel
- Compactor (optional but recommended)
- Measuring tape
- Landscape staples
Having the right tools will make the installation process much easier and ensure a smoother result.
Step 1: Prepare the Area
Problem: Uneven or Rocky Ground
One of the most common issues homeowners face when installing artificial turf is uneven or rocky ground. If the base isn’t properly prepared, your turf could end up looking bumpy or uneven.
Solution:
Start by removing any existing grass, weeds, or debris from the area where you plan to install the turf. You can use a shovel or a sod cutter for this task. Once cleared, use a rake to level the ground and remove any large rocks or roots. For an even surface, consider using a compactor to compress the soil and ensure a stable base for the turf.
Additional Tip:
To prevent weed growth under the turf, roll out a weed barrier fabric over the prepared area. This will keep weeds from growing through the artificial grass and ensure its longevity.
Step 2: Add a Crushed Rock Base
Problem: Drainage Issues
Without proper drainage, water can pool underneath your turf, causing it to smell or even degrade over time.
Solution:
To address drainage, it’s essential to add a crushed rock base. This layer not only provides stability but also allows for water to flow freely. Spread a 1–2-inch layer of crushed rock or decomposed granite evenly over the prepared area. Use a rake to smooth the surface, then compact the base using a plate compactor. Proper compaction is crucial to ensure the turf remains stable for years.
Additional Tip:
Ensure the base is sloped slightly (about 1–2 degrees) to promote water drainage away from your turf and prevent pooling.
Step 3: Roll Out the Artificial Turf
Problem: Wrinkles or Uneven Edges
When unrolling the artificial turf, it’s easy to encounter wrinkles or uneven edges that can disrupt the smooth, flat surface you desire.
Solution:
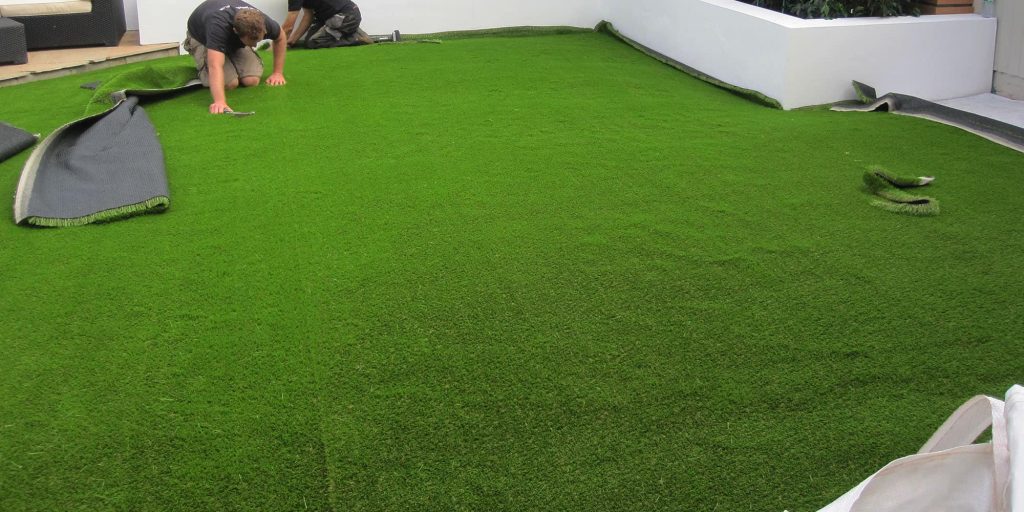
Unroll your artificial turf over the prepared base, making sure it covers the entire area. Use a utility knife to trim the edges to fit the space, leaving a small gap between the turf and any nearby structures. If the turf has wrinkles or creases, let it sit in the sun for a few hours before proceeding, as the heat will help it flatten out. If necessary, gently pull the turf taut as you roll it out to avoid any bulges.
Additional Tip:
If you’re installing turf in multiple pieces, ensure the seams align properly. Overlap the seams by about 1–2 inches, and use turf adhesive to secure them. For a more seamless finish, use a turf seam tape.
Step 4: Secure the Turf
Problem: Turf Shifting or Lifting
If the turf isn’t secured properly, it may shift or lift over time, leading to an uneven and unkempt look.
Solution:
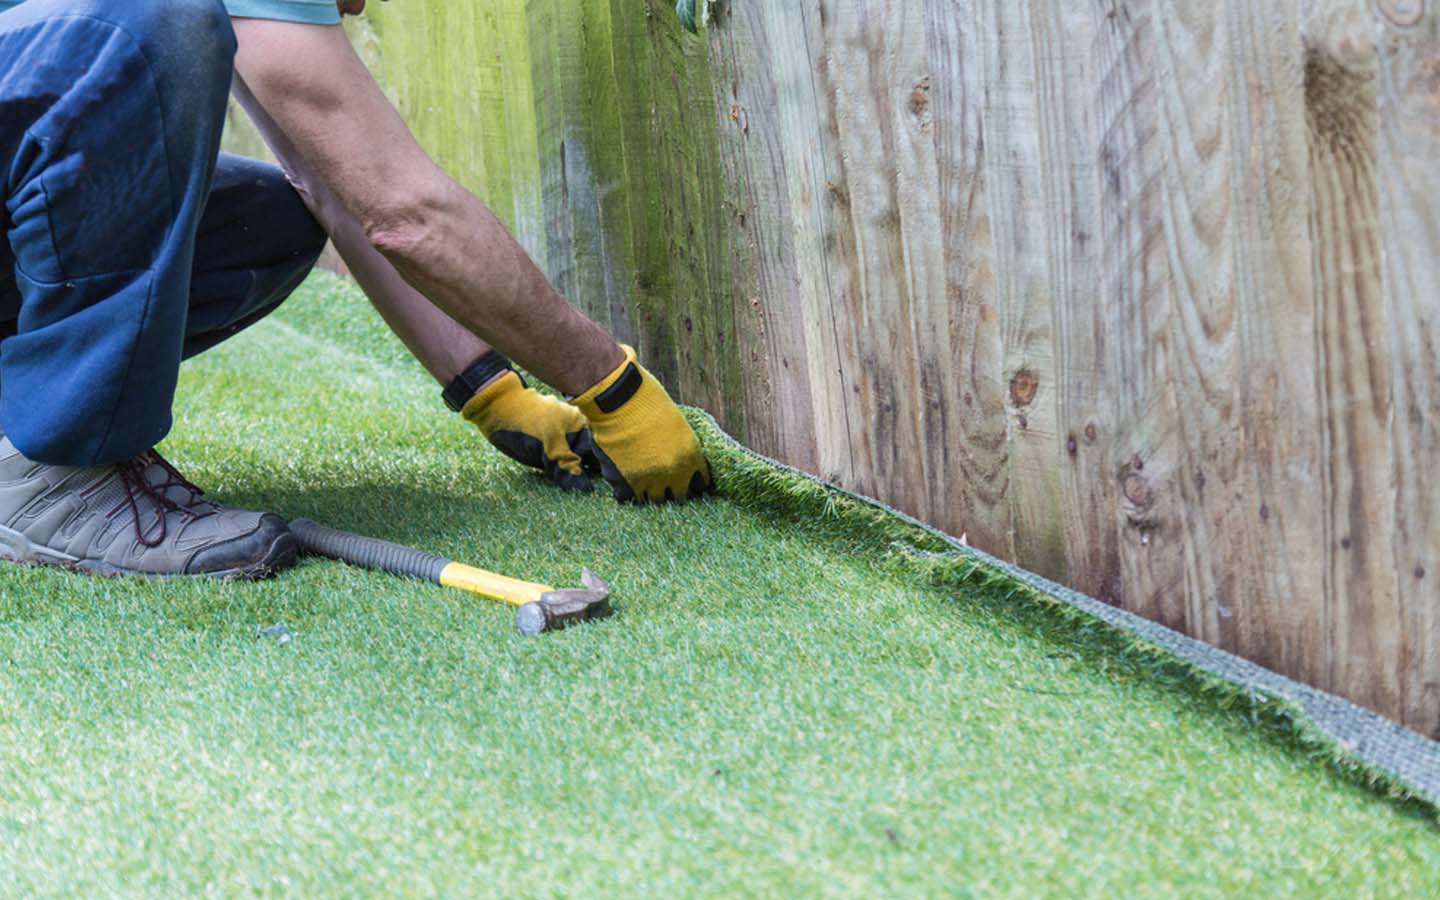
To prevent the turf from shifting, use landscape staples or turf nails to anchor the artificial grass to the ground. Start by securing the perimeter, placing the staples every 6–8 inches along the edges. Then, work your way toward the center, adding more staples as necessary. Be sure to press the staples flush with the surface of the turf to avoid visible bumps or protrusions.
Additional Tip:
Use turf adhesive along the seams for extra security, ensuring the pieces stay tightly in place.
Step 5: Brush and Infill
Problem: Flattening or Matted Turf
Without proper brushing and infill, your artificial turf may appear flat or matted, which can detract from its realistic appearance.
Solution:
Once the turf is securely in place, use a stiff broom or power brush to fluff up the fibers. This will give the turf a natural, upright appearance. After brushing, apply an infill material, such as silica sand or rubber granules, to the surface of the turf. This will help the blades stand upright, reduce friction, and provide additional support to the turf. Spread the infill evenly across the turf, then use a broom to work it into the fibers.
Additional Tip:
Be sure to apply the correct amount of infill. Too little infill may result in a floppy, flat appearance, while too much can weigh the turf down and cause it to look unnatural.
Step 6: Clean and Maintain
Problem: Debris Buildup or Odor
Over time, debris, pet waste, and dirt can accumulate on artificial turf, leading to an unpleasant odor or unattractive appearance.
Solution:
Cleaning artificial turf is easy and low-maintenance. Simply hose down the turf regularly to remove dirt and debris. For pet owners, you can use a mild soap solution to clean any stains or odors. A leaf blower or broom will also help keep your turf clean, especially after windy days.
Additional Tip:
In areas with heavy foot traffic, occasionally brushing the turf to lift the fibers can help maintain its appearance and prolong its lifespan.
Conclusion
Learning how to install artificial turf can be a rewarding project that transforms your outdoor space into a low-maintenance, green paradise. By following these steps—preparing the area, adding a solid base, securing the turf, and maintaining it—you can ensure your artificial lawn lasts for years to come. While common issues such as uneven surfaces, poor drainage, or shifting turf may arise, they can easily be solved with the right preparation and techniques. With a little time and effort, your artificial turf installation will leave you with a beautiful, worry-free lawn.

Allan Williams
Welcome to my blog! With over 10 years of writing experience, I specialize in creating engaging content across a wide range of niches. My work includes contributions to gerardomariona.com, where I’ve had the pleasure of crafting insightful and impactful articles. From lifestyle to technology, and everything in between, I love sharing valuable tips, trends, and fresh perspectives. Dive in and explore the latest insights!

